Description
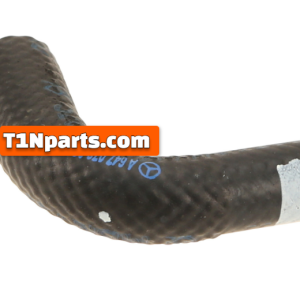
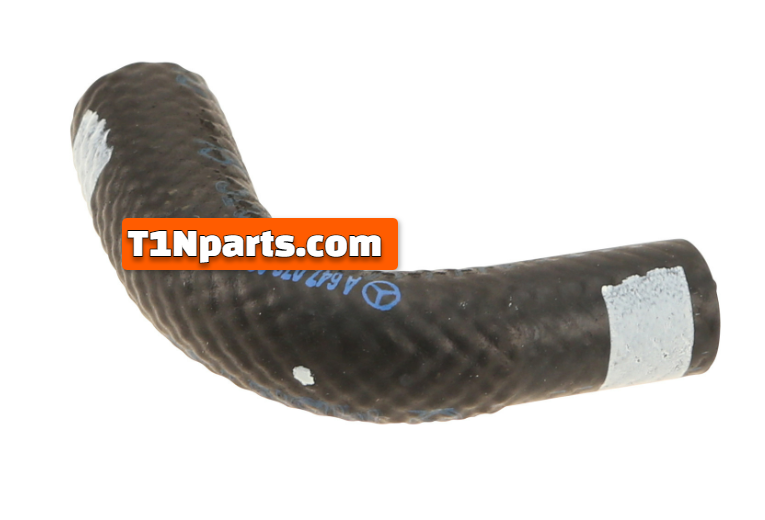
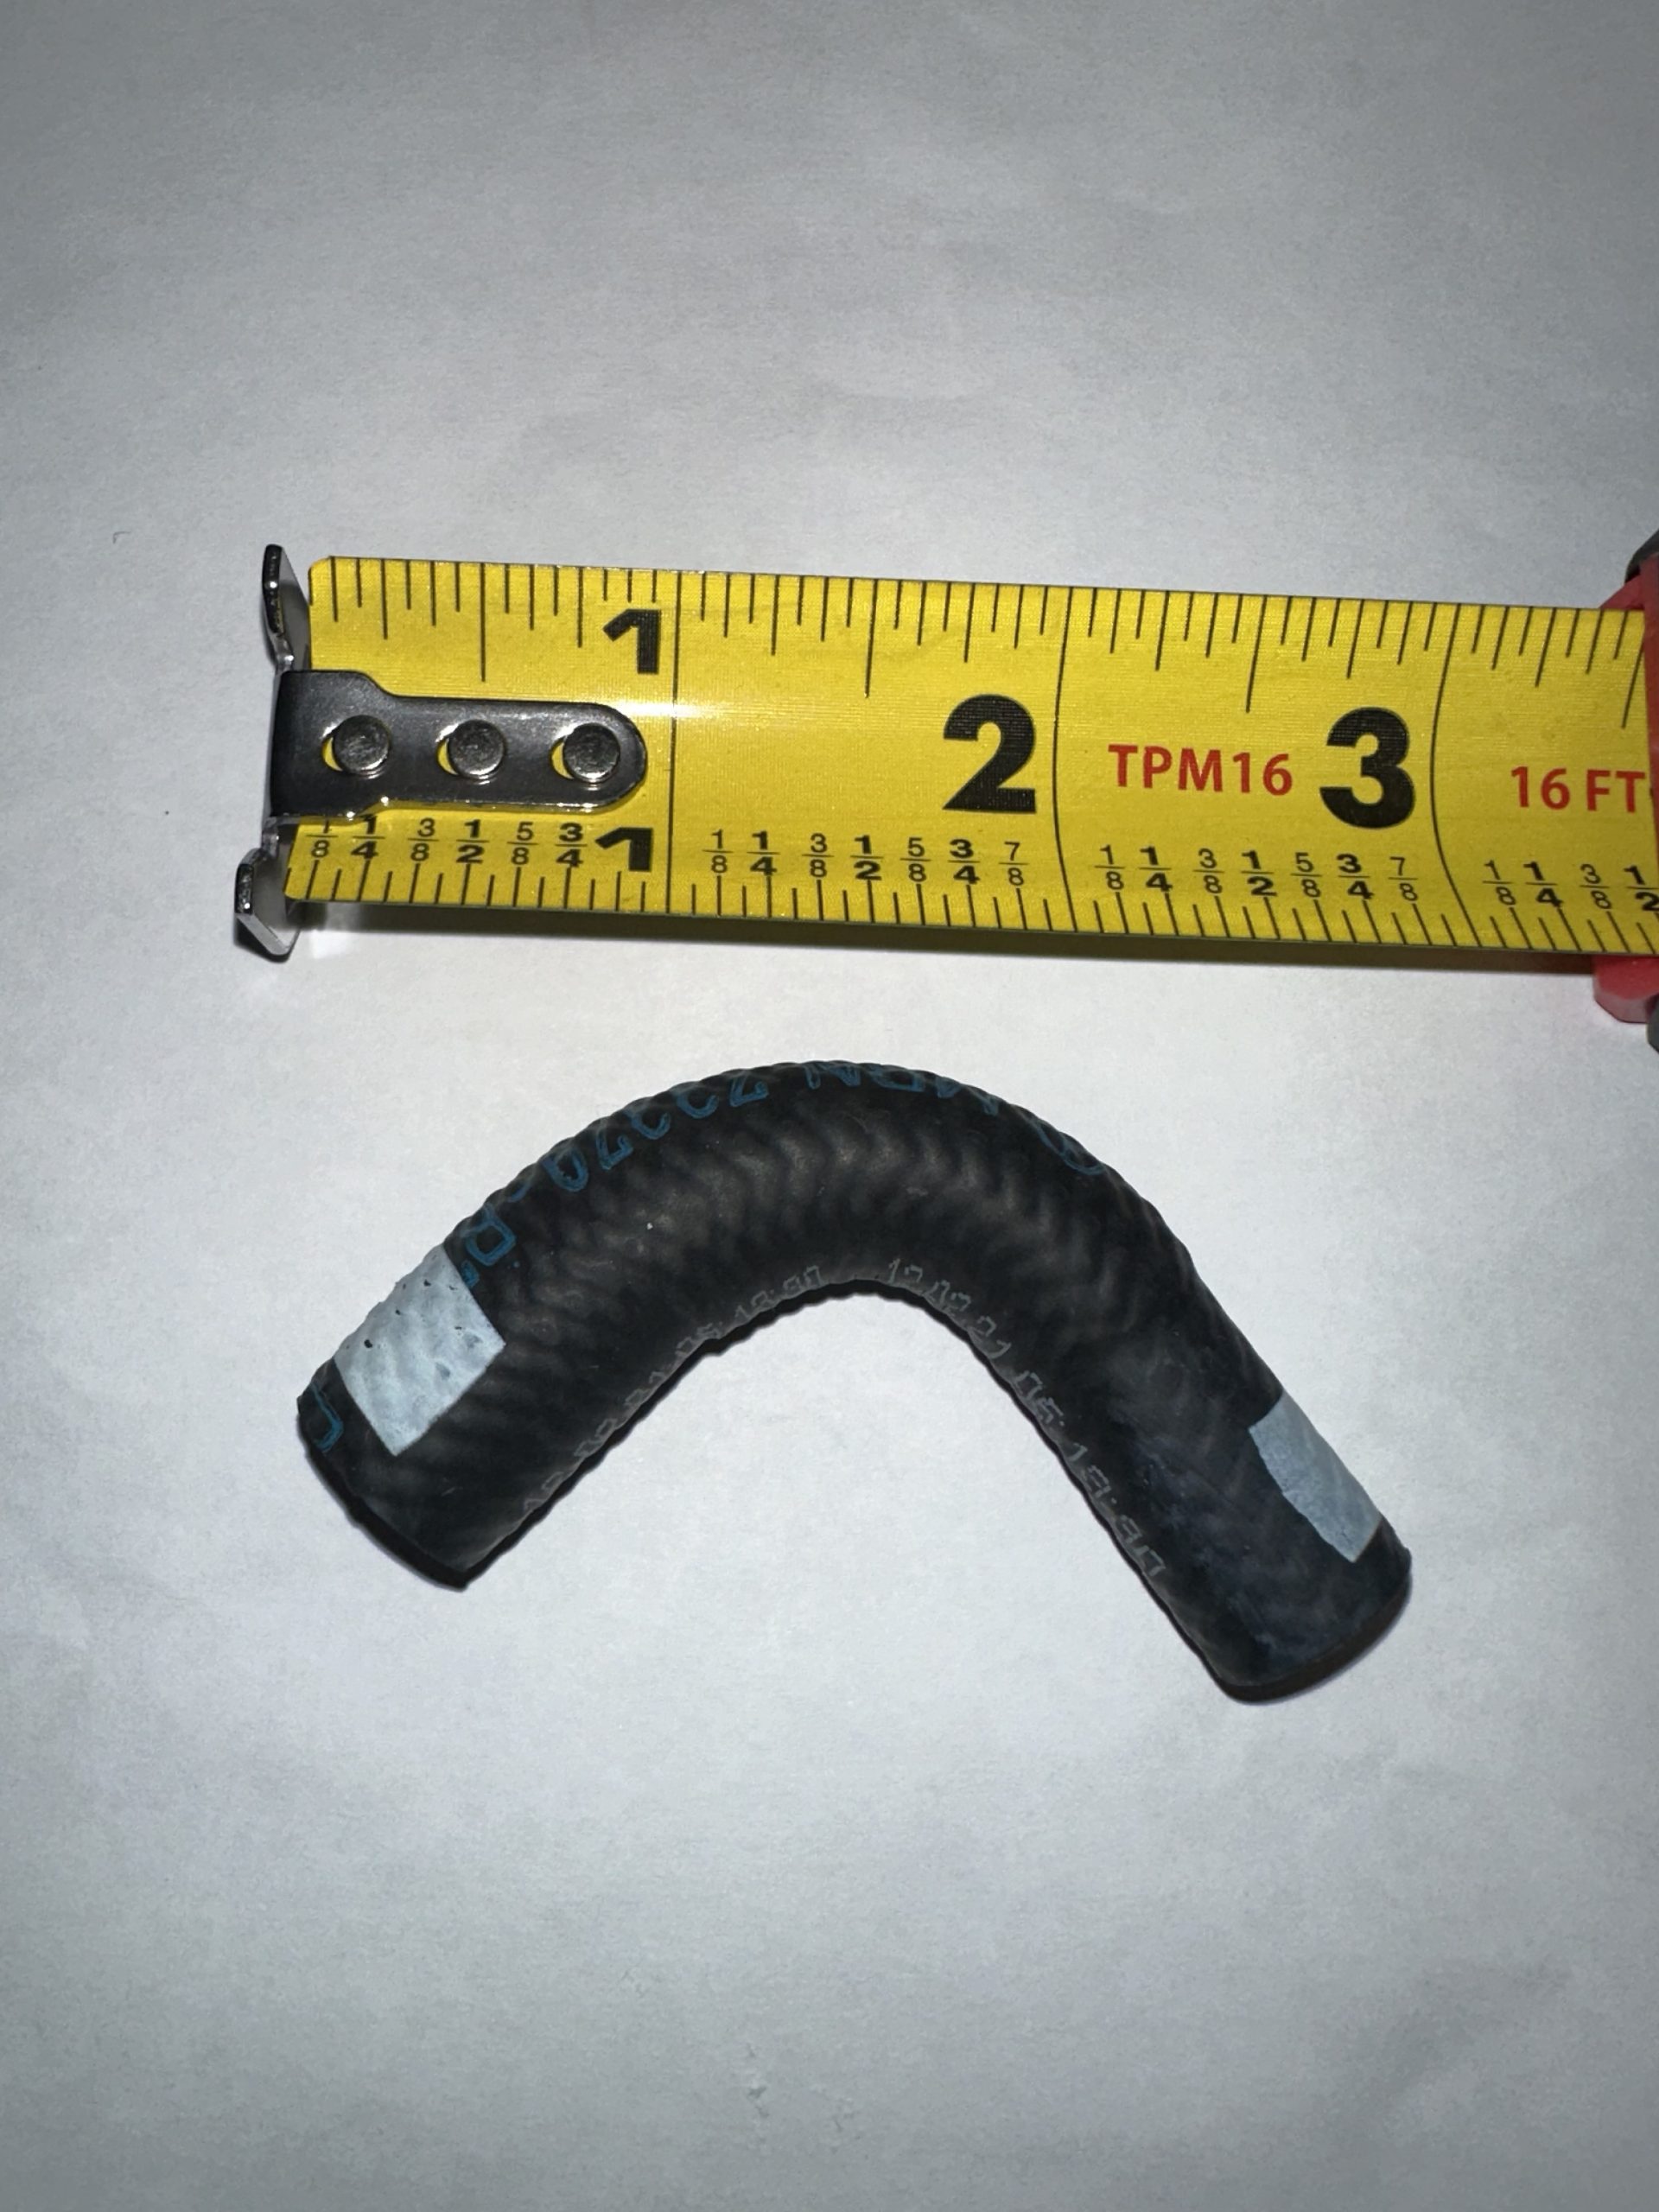
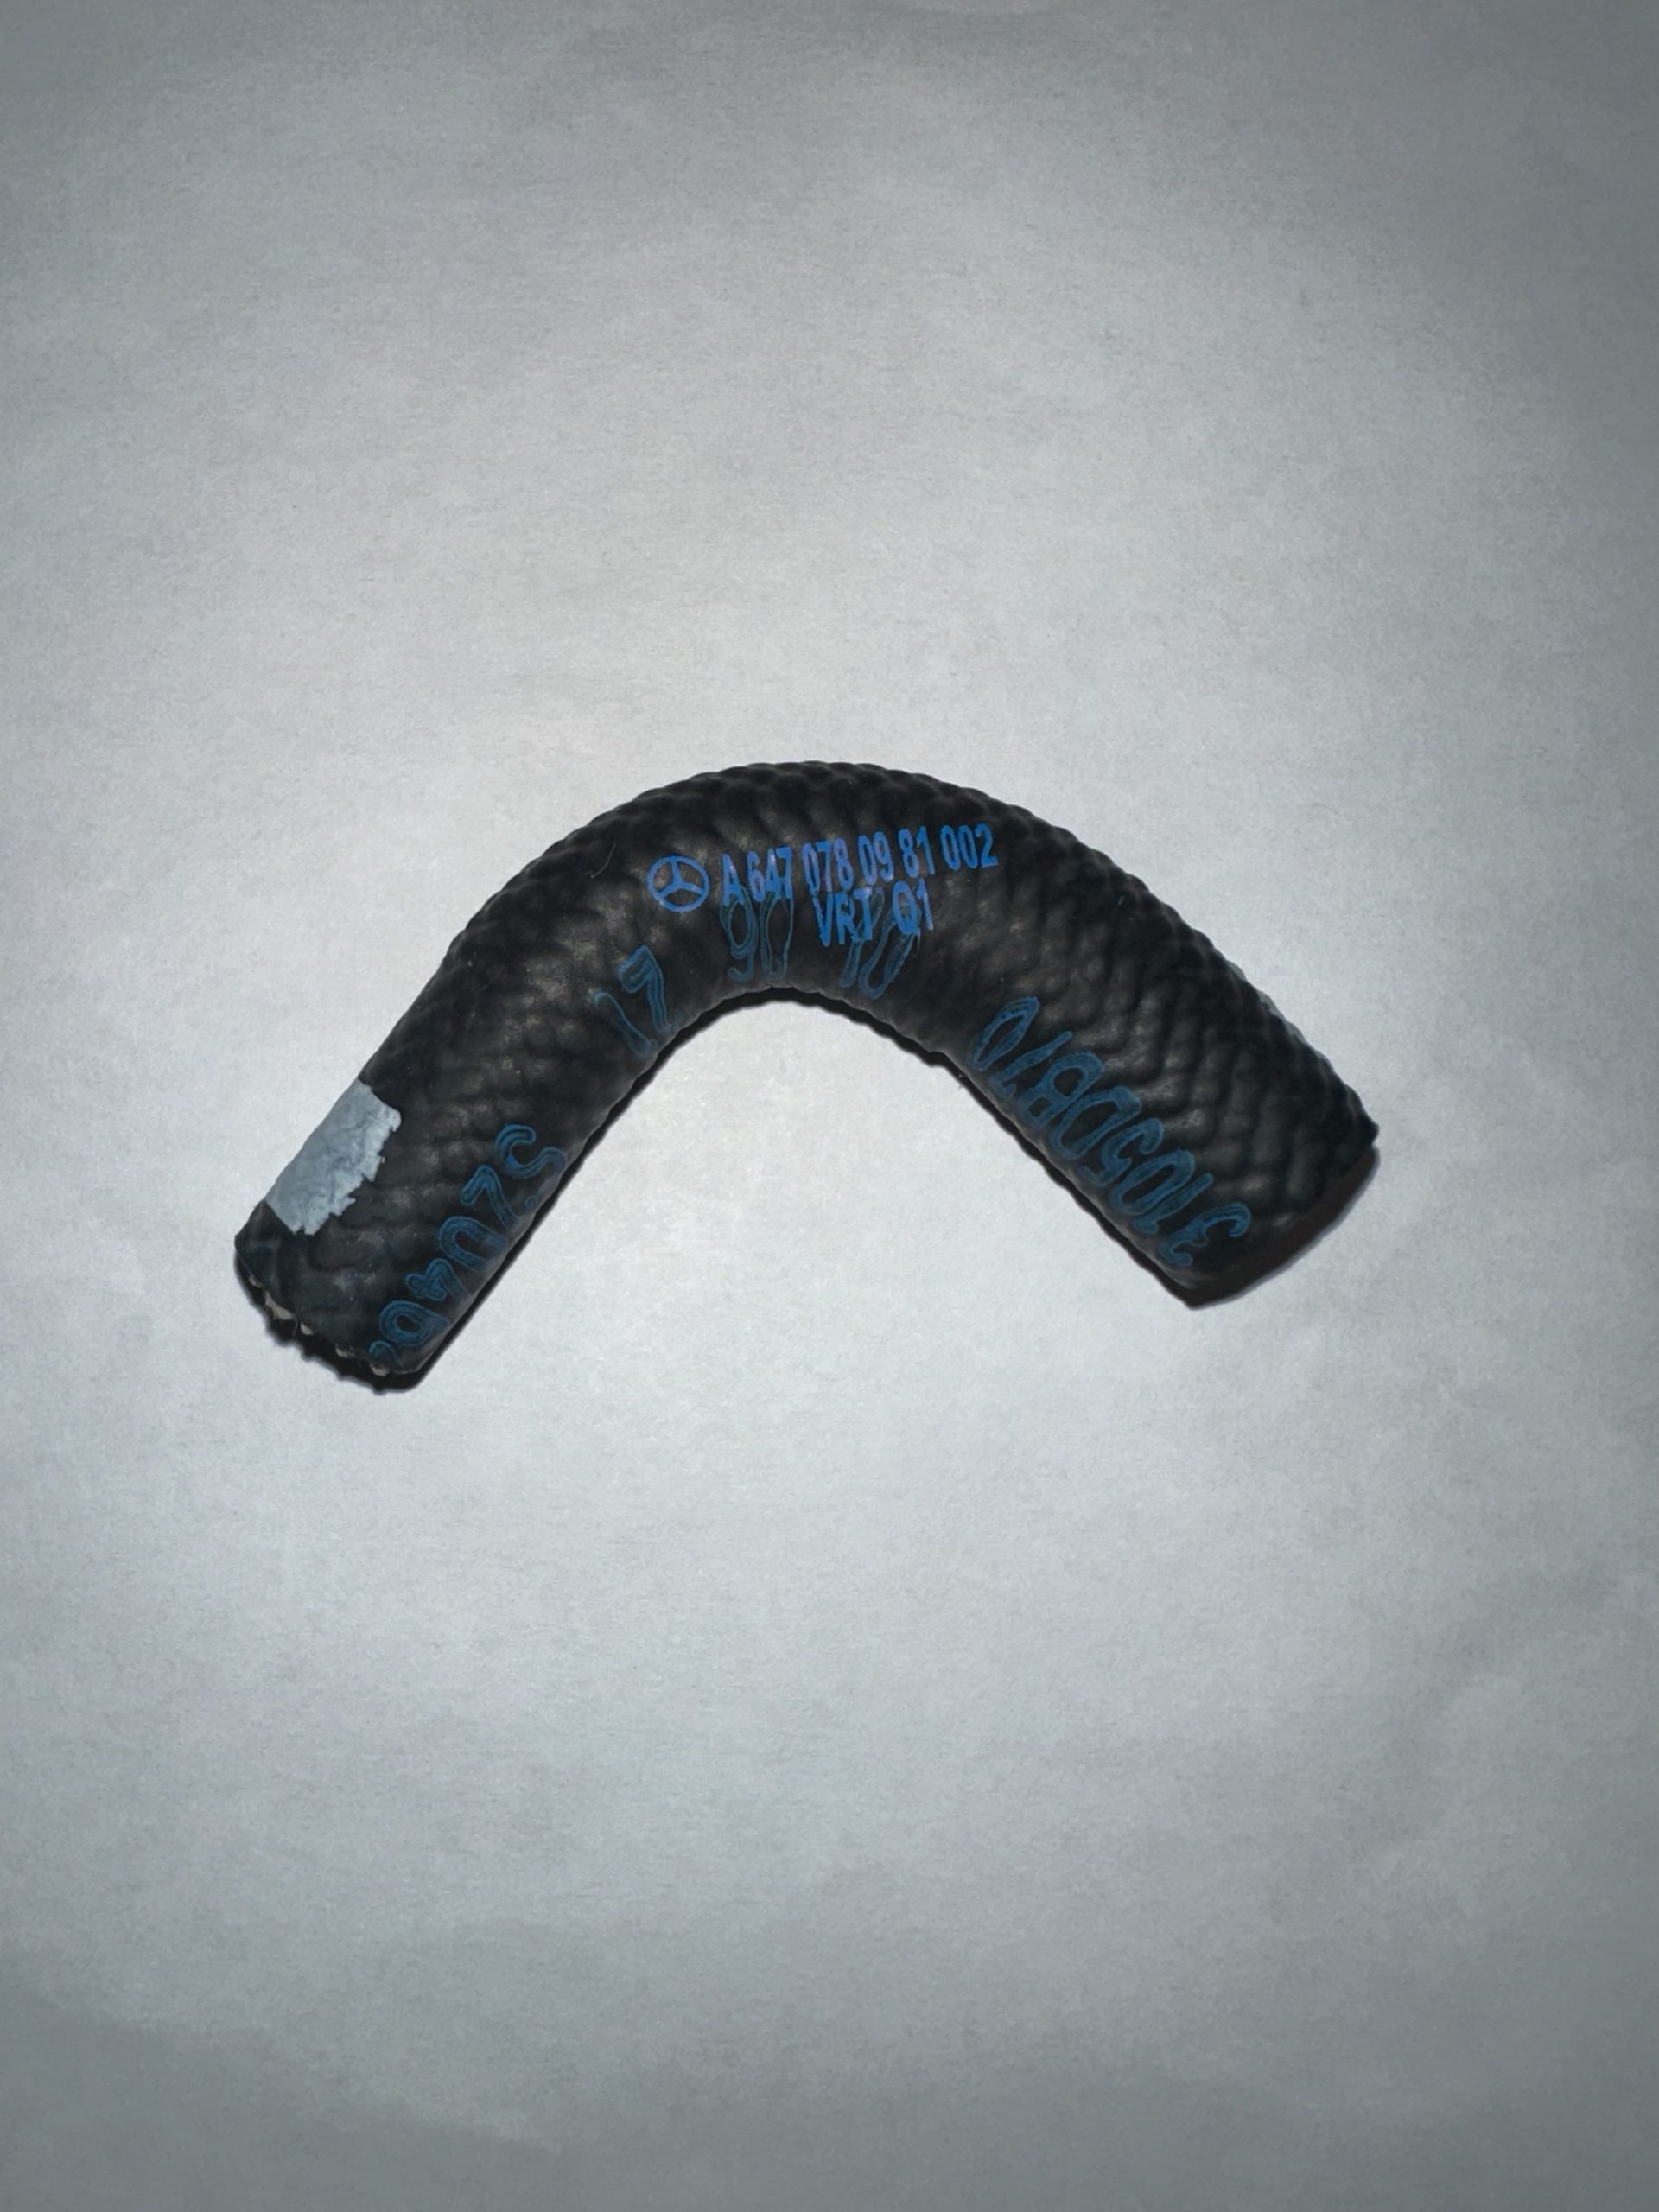
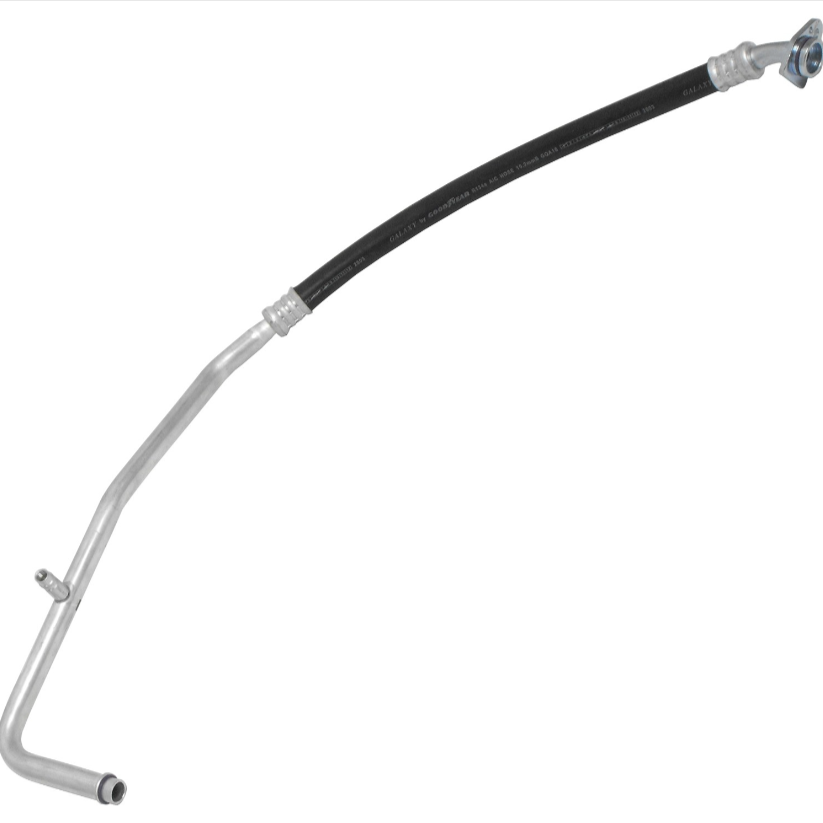
Universal Air Cond A/C Suction Line Hose Assembly — Suction Line for a 2002-2006 Sprinter Van
How to Install an A/C Suction Line Hose Assembly (Suction Line) on a 2006 Sprinter Van
Tools & Materials Needed:
By following these steps, you should have successfully installed the A/C suction line hose assembly on your 2006 Sprinter van. If you encounter any problems or are unsure about any part of the process, consider seeking assistance from a professional mechanic to ensure everything is installed and functioning properly.
- New A/C suction line hose assembly
- Wrenches (sizes depending on fittings)
- Socket set
- Torque wrench
- Refrigerant recovery machine (optional but recommended)
- New O-rings (if required)
- A/C refrigerant (to recharge the system)
- Gloves and safety glasses
Other A/C hose Lines Links
A/C Refrigerant Discharge HoseA/C Refrigerant Liquid HoseStep-by-Step Instructions:
1. Safety First:
Before starting, make sure the van is parked on a flat surface, the engine is off, and the key is removed from the ignition. Wear gloves and safety glasses to protect yourself from refrigerant and other components while working.2. Recover the Refrigerant:
If there is still refrigerant in the A/C system, use a refrigerant recovery machine to remove it safely. This step is crucial because releasing refrigerant into the atmosphere is harmful and illegal. If you don’t have a recovery machine, it’s best to have a professional recover the refrigerant for you.3. Locate the A/C Suction Line:
The A/C suction line, also known as the low-pressure line, connects the A/C evaporator (inside the vehicle) to the compressor (in the engine bay). The line is responsible for carrying refrigerant in its low-pressure state back to the compressor. In the 2006 Sprinter van, the suction line runs from the passenger compartment, through the firewall, and connects to the A/C compressor located at the front of the engine.4. Disconnect the Old Suction Line:
- Disconnect from the Compressor: Using a wrench, locate and disconnect the suction line from the A/C compressor. Keep track of any bolts, washers, or fittings that come off during this process.
- Disconnect from the Evaporator: Trace the suction line back to where it connects to the evaporator, which may be located inside the van, behind the dashboard, or near the firewall. Use a wrench to disconnect it from this point as well.
5. Remove the Old Suction Line:
Once the line is disconnected, carefully remove it from the vehicle. You may need to undo any clamps or brackets holding the line in place along its route. Be mindful not to damage any other components during removal.6. Inspect and Replace O-Rings:
Inspect the O-rings at both connection points (at the compressor and the evaporator). If they show signs of wear or damage, replace them with new O-rings. Apply a small amount of refrigerant oil to the new O-rings to help them seal properly and prevent leaks.7. Install the New Suction Line:
- Connect to the Compressor: Attach the new suction line to the A/C compressor. Secure it with the bolts and fittings you removed earlier, and tighten them according to the manufacturer’s torque specifications using a torque wrench.
- Connect to the Evaporator: Route the suction line back to the evaporator, ensuring it follows the same path as the old line. Attach it to the evaporator and tighten the connection using the proper wrench.
8. Secure the Suction Line:
Reinstall any clamps or brackets that hold the suction line in place along its path. Make sure the hose is routed correctly, without kinks or sharp bends, and that it doesn’t interfere with any other components.9. Double-Check Connections:
Once the suction line is installed, double-check all connections at the compressor and evaporator to ensure they are properly tightened. This will help avoid refrigerant leaks.10. Recharge the A/C System:
With the new suction line installed, the A/C system will need to be recharged with the correct type and amount of refrigerant for your 2006 Sprinter van. If you don’t have the necessary equipment, take the van to a professional to recharge the system.11. Test the A/C System:
- Start the van’s engine and turn on the A/C to ensure everything is working properly. Let the system run for a few minutes and check for cold air coming from the vents.
- Listen for any unusual noises or signs of weak airflow, which could indicate an issue with the installation or refrigerant levels.
12. Final Inspection:
Inspect the connections and surrounding areas for any refrigerant leaks or signs of malfunction. If everything is secure and functioning correctly, your installation is complete.By following these steps, you should have successfully installed the A/C suction line hose assembly on your 2006 Sprinter van. If you encounter any problems or are unsure about any part of the process, consider seeking assistance from a professional mechanic to ensure everything is installed and functioning properly.
fits the following vans
| 2002 Sprinter Van | 5124647AA | |
| 2003 Sprinter Van | 111552C | |
| 2004 Sprinter Van | 1 | |
| 2005 Sprinter Van | 1 | |
| 2006 Sprinter Van | 1 | |
| 2007 Sprinter Van | 1 | |
| 2008 Sprinter Van | 1 | |
| 2009 Sprinter Van | 1 | |
| 2010 Sprinter Van | 1 | |
| 2011 Sprinter Van | 1 | |
| 2012 Sprinter Van | 1 | |
| 2013 Sprinter Van | 1 | |
| 2014 Sprinter Van | 1 | |
| 2015 Sprinter Van | 1 | |
| 2016 Sprinter Van | 1 | |
| 2017 Sprinter Van | 1 | |
| 2018 Sprinter Van | 1 |