Description
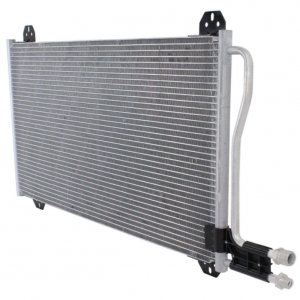
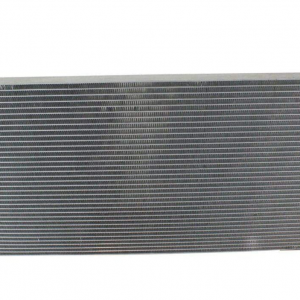
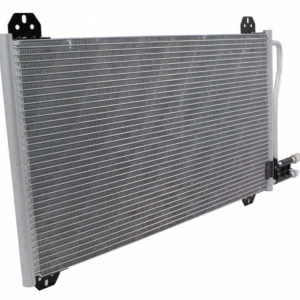
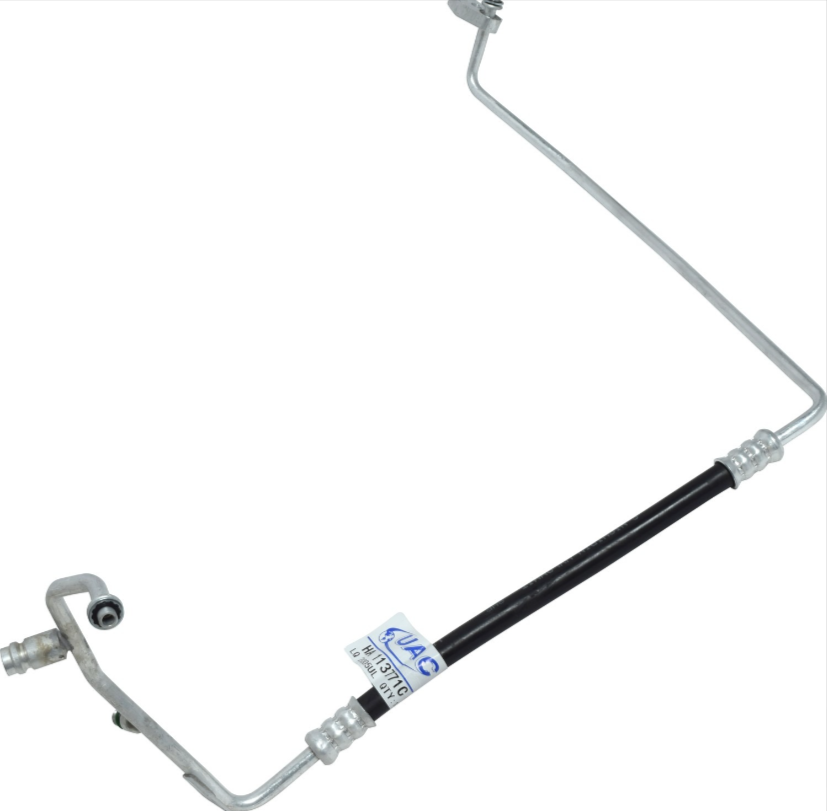
Universal Air Cond A/C Refrigerant Liquid Hose — Liquid Line for a 2002-2006 Sprinter Van
How to Install an A/C Refrigerant Liquid Hose (Discharge Line) on a T1N 2006 Sprinter Van
Tools & Materials Needed:
- New A/C refrigerant liquid hose (discharge line)
- Wrenches (size depending on fittings)
- Socket set
- Torque wrench
- Refrigerant recovery machine (optional but recommended)
- New O-rings (if required)
- A/C refrigerant (for recharging the system)
- Safety glasses and gloves
Step-by-Step Instructions:
1. Safety First:
Before beginning, ensure that the van is parked on a flat surface, the engine is off, and the key is removed from the ignition. Wear safety glasses and gloves to protect yourself while working with refrigerants and mechanical components.
2. Recover the Refrigerant:
If the A/C system is still charged, you must first recover the refrigerant using a refrigerant recovery machine. This is essential for both environmental and legal reasons, as venting refrigerant into the atmosphere is prohibited. If you don’t have access to a recovery machine, have a licensed professional handle this step.
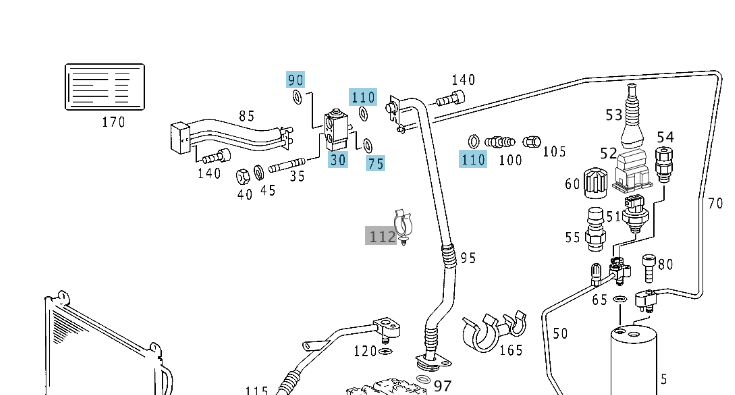
3. Locate the A/C Refrigerant Liquid Hose:
The liquid hose, also called the discharge line, connects the A/C compressor to the condenser. In the T1N 2006 Sprinter van, the A/C compressor is mounted at the front of the engine, and the condenser is located near the front radiator.
4. Disconnect the Old Liquid Hose:
- Disconnect from the Compressor: Locate the fitting where the discharge line connects to the A/C compressor. Use the appropriate wrench to loosen and disconnect the hose. Keep track of any bolts, nuts, or washers that may come loose.
- Disconnect from the Condenser: Follow the hose to where it connects to the condenser. Loosen and remove the hose at this fitting as well.
5. Remove Clamps and Brackets:
Along the length of the discharge line, there may be clamps or brackets holding it in place. Carefully remove these, making sure not to damage surrounding components.
6. Inspect and Replace O-Rings:
- Inspect the O-rings at the connection points on both the compressor and condenser for wear or damage. It’s recommended to replace them with new O-rings if they aren’t included with the new hose.
- Lightly coat the new O-rings with a small amount of refrigerant oil to ensure a good seal and prevent leaks when reinstalled.
7. Install the New Liquid Hose:
- Attach to the Compressor: Position the new discharge hose and secure it to the A/C compressor by tightening the bolts to the manufacturer’s torque specifications using a torque wrench.
- Attach to the Condenser: Connect the other end of the hose to the condenser, ensuring the fitting is seated properly. Tighten the bolts according to the specified torque.
8. Secure the Hose with Clamps and Brackets:
Reinstall any clamps or brackets that were removed to secure the new hose along its path. Make sure the hose is routed correctly and is free from kinks or interference with other components.
9. Check All Connections:
Before proceeding, double-check all connections and fittings to ensure they are properly tightened and secured. Improper connections can lead to refrigerant leaks and reduced system performance.
10. Recharge the A/C System:
- With the new hose installed, you will need to recharge the A/C system with refrigerant. Be sure to use the correct type and quantity of refrigerant specified for your 2006 Sprinter van.
- If you are not equipped to recharge the system yourself, take the vehicle to a professional to have the system recharged properly.
11. Test the A/C System:
- Start the engine and turn on the air conditioning. Let it run for a few minutes to ensure that the A/C is cooling properly and that there are no unusual noises.
- Check for leaks or weak airflow from the vents, which could indicate an issue with the installation or the system’s recharge.
12. Final Inspection:
After the A/C has run for a few minutes, inspect the connections at the compressor, condenser, and along the hose for any signs of refrigerant leaks. If everything looks good and the A/C is functioning correctly, the installation is complete.
By following these steps, you will have successfully installed a new A/C refrigerant liquid hose (discharge line) on your T1N 2006 Sprinter van. If you encounter any issues during the process or are uncertain about any steps, consider consulting a professional mechanic for assistance.
fits the following vans
| 2002 Sprinter Van | 1 | |
| 2003 Sprinter Van | 1 | |
| 2004 Sprinter Van | 1 | |
| 2005 Sprinter Van | 1 | |
| 2006 Sprinter Van | 1 | |
| 2007 Sprinter Van | 1 | |
| 2008 Sprinter Van | 1 | |
| 2009 Sprinter Van | 1 | |
| 2010 Sprinter Van | 1 | |
| 2011 Sprinter Van | 1 | |
| 2012 Sprinter Van | 1 | |
| 2013 Sprinter Van | 1 | |
| 2014 Sprinter Van | 1 | |
| 2015 Sprinter Van | 1 | |
| 2016 Sprinter Van | 1 | |
| 2017 Sprinter Van | 1 | |
| 2018 Sprinter Van | 1 |