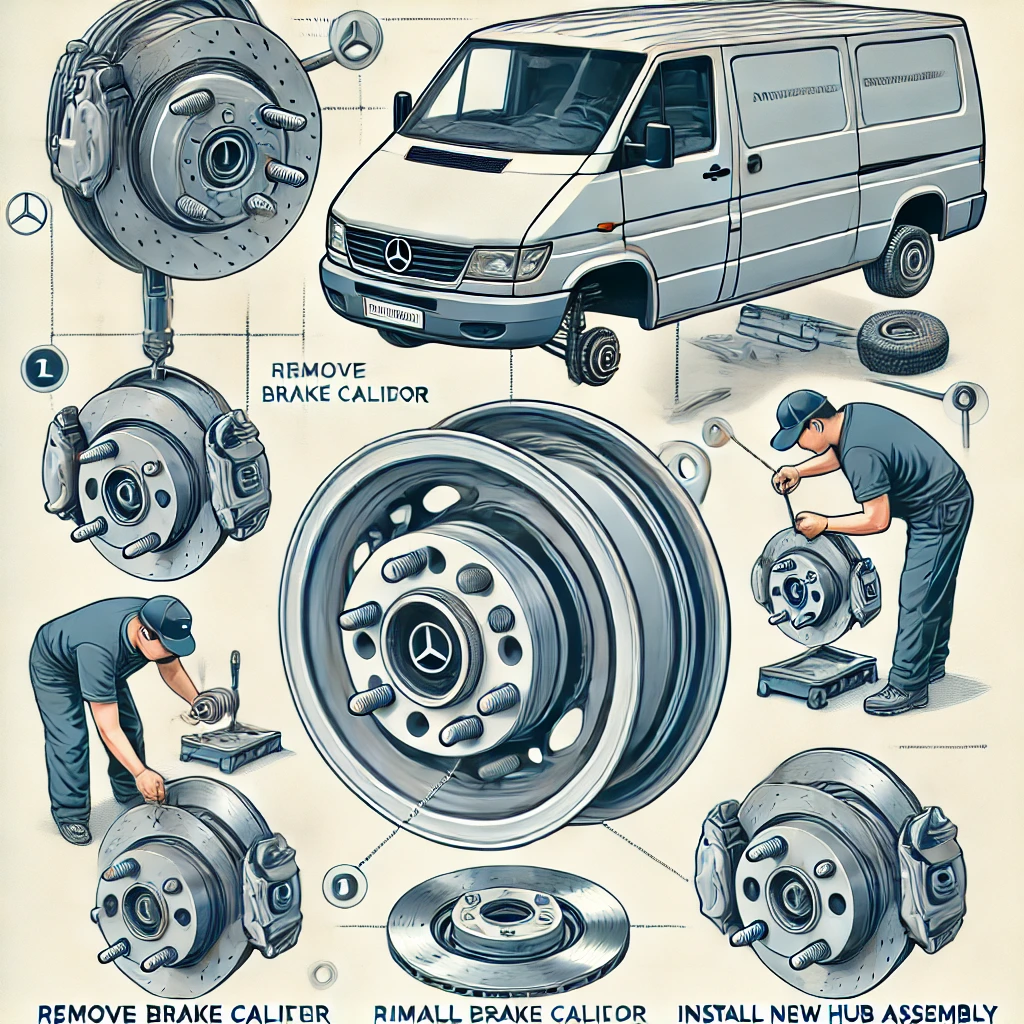
How to Install a Genuine Mercedes Wheel Hub click for product info) on a 2004-2006 T1N Sprinter Van

Replacing the wheel hub on your T1N Sprinter is essential for maintaining smooth and safe vehicle performance. This guide will help you install a Genuine Mercedes Wheel Hub correctly, whether you’re replacing a worn-out hub or upgrading parts for better performance.
Tools You’ll Need:
- Car jack and jack stands
- Lug wrench
- Torque wrench
- Socket and ratchet set
- Hammer (if needed for stuck parts)
- Brake cleaner
- Grease (for the new hub assembly)
Step-by-Step Installation Guide
Step 1: Prepare Your Workspace
- Safety First: Park your Sprinter on a flat, stable surface and engage the parking brake.
- Gather Tools and Parts: Have all necessary tools, including your new wheel hub, ready.
Step 2: Raise the Vehicle and Remove the Wheel
- Loosen the Lug Nuts: Before lifting the vehicle, use a lug wrench to slightly loosen the lug nuts on the wheel.
- Lift the Van: Use a car jack to lift the van, then secure it with jack stands.
- Remove the Wheel: Take off the lug nuts and remove the wheel to access the hub assembly.
Step 3: Remove the Old Hub Assembly
- Remove the Brake Caliper and Rotor:
- Use a socket wrench to remove the bolts securing the brake caliper. Hang the caliper on a nearby suspension component using a bungee cord to avoid strain on the brake line.
- Remove the brake rotor to fully expose the hub assembly.
- Detach the Hub Assembly:
- Locate the bolts holding the hub assembly in place (usually four bolts).
- Use a socket wrench to remove these bolts. If the hub is stuck, carefully use a hammer to tap it loose, taking care not to damage surrounding parts.
Step 4: Install the New Wheel Hub
- Clean the Mounting Area: Use brake cleaner to remove any dirt or debris from the mounting surface where the new hub will be installed.
- Position the New Hub Assembly: Align the new hub assembly with the bolt holes on the axle.
- Secure the Hub Assembly: Insert and hand-tighten the bolts. Then use a torque wrench to tighten each bolt to the manufacturer’s recommended torque specification.
Step 5: Reassemble the Braking Components
- Reattach the Brake Rotor: Slide the rotor back onto the wheel studs, ensuring it sits flush.
- Reinstall the Brake Caliper: Position the brake caliper back over the rotor and secure it with bolts. Tighten to the recommended torque specification.
Step 6: Reattach the Wheel
- Replace the Wheel: Position the wheel back onto the hub and hand-tighten the lug nuts.
- Lower the Vehicle: Carefully remove the jack stands, then lower the van to the ground with the jack.
- Tighten the Lug Nuts: Use a torque wrench to tighten the lug nuts in a star pattern to ensure even pressure.
Step 7: Test the Installation
- Check for Stability: Ensure the wheel rotates smoothly and there’s no wobbling.
- Test Drive: Take a short drive to verify that the new hub functions properly, listening for any unusual noises.
Safety Reminder
For optimal performance and safety, double-check that all bolts and components are securely fastened to the recommended torque specifications. This will help prevent premature wear and maintain the integrity of the wheel hub and surrounding parts.
For additional parts and expert advice, visit us anytime at t1nparts.com!
