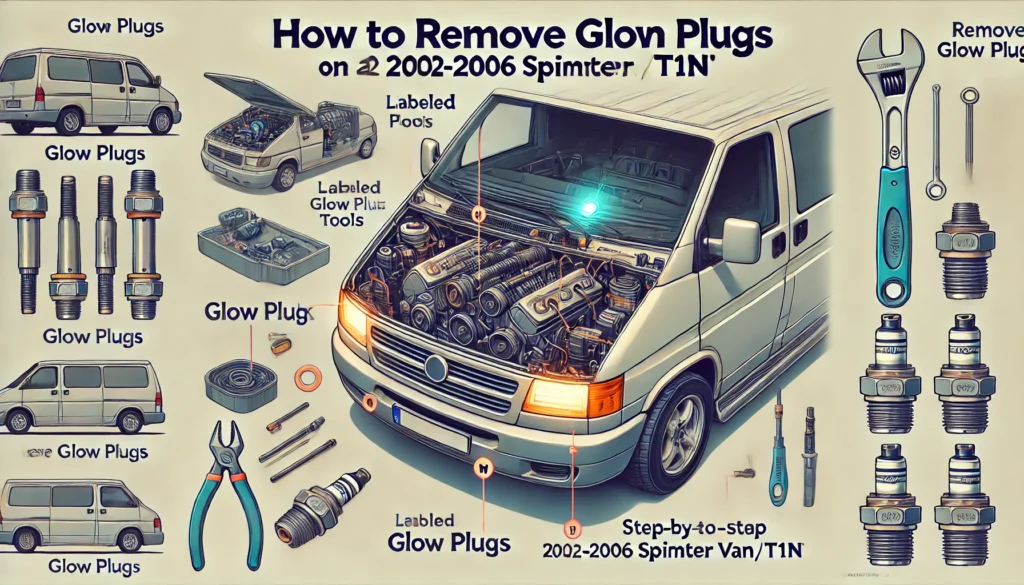
How to Remove Glow Plugs on a 2002-2006 Sprinter Van (T1N)
Properly removing the glow plugs from your 2002-2006 Sprinter Van (T1N) requires careful attention to prevent damage to the engine or the glow plug threads. Follow this step-by-step guide to ensure a smooth and safe removal process.
Tools and Supplies You’ll Need:
- Ratchet with extensions
- Torque wrench
- 10mm deep socket (or appropriate glow plug socket)
- Anti-seize lubricant
- Penetrating oil (e.g., PB Blaster or WD-40)
- Compressed air (optional)
- Soft-bristle brush
- Shop towels or rags
Preparation:
- Ensure the Engine is Cool:
Never attempt to remove glow plugs from a hot or warm engine. Allow the engine to cool completely to minimize the risk of damage to the threads in the cylinder head. - Disconnect the Battery:
For safety, disconnect the negative terminal of the battery to prevent electrical shorts. - Clean the Area:
Use compressed air or a soft brush to clean the area around the glow plugs to remove dirt and debris. This prevents contamination from falling into the engine when the plugs are removed.
Step-by-Step Instructions:
Step 1: Remove the Engine Cover
- Locate and remove the plastic engine cover by unscrewing the fasteners and lifting it off. This will expose the glow plug wiring harness.
Step 2: Disconnect the Glow Plug Wires
- Carefully unplug the electrical connectors attached to each glow plug. Use gentle force to avoid damaging the connectors or the wires.
Step 3: Apply Penetrating Oil
- Spray a small amount of penetrating oil (e.g., PB Blaster) around the base of each glow plug. Allow it to soak for 10-15 minutes to help loosen any carbon deposits or corrosion.
Step 4: Loosen the Glow Plugs
- Attach the 10mm deep socket to your ratchet and gently start loosening each glow plug by turning counterclockwise. Use slow, steady pressure to avoid snapping the glow plug.
- If you encounter resistance: Stop and apply more penetrating oil, then wait an additional 10-15 minutes before trying again.
- Pro Tip: Use a torque wrench set to no more than 20 Nm of torque to avoid over-torquing and breaking the plug.
Step 5: Remove the Glow Plugs
- Once loosened, carefully unscrew the glow plugs and remove them from the cylinder head. Place them on a clean surface for inspection or replacement.
- Inspect for Carbon Buildup: Examine the threads and tips of the glow plugs for signs of heavy carbon buildup or damage. If the threads are excessively dirty, consider cleaning them before reinstallation.
Step 6: Clean the Glow Plug Ports (Optional)
- Use a soft brush or compressed air to clean the glow plug ports. Be cautious not to allow debris to fall into the cylinder.
Tips to Avoid Common Issues:
- Take Your Time: Glow plugs can seize in the cylinder head due to heat and carbon buildup. Rushing increases the risk of breaking them.
- Apply Heat if Necessary: In stubborn cases, gently heat the area around the glow plug with a heat gun to expand the metal and loosen the plug.
- Avoid Excessive Force: If a glow plug feels stuck, do not force it. Reapply penetrating oil and try again after some time.
After Removal:
- If replacing the glow plugs, apply a small amount of anti-seize lubricant to the threads of the new plugs before installation.
- Reinstall the glow plugs, tightening them to the manufacturer’s recommended torque (typically 11-13 Nm for the T1N Sprinter).
- Reconnect the electrical connectors, reattach the engine cover, and reconnect the battery.
Warning:
If a glow plug breaks during removal, you’ll need specialized tools or professional help to extract the broken piece without damaging the cylinder head.
With these instructions, you should be able to safely and effectively remove the glow plugs from your 2002-2006 Sprinter Van. Always work patiently and follow best practices to avoid complications.
